Key takeaways
- Replacing a kitchen faucet is an easy DIY upgrade that improves performance, design, and water efficiency
- Choose the right faucet by checking sink holes, size/clearance, and desired features (e.g., touchless)
- Basic tools: wrench, plumber’s tape, bucket/towels
- Key steps: turn off water, remove old faucet, install new faucet, reconnect lines, test for leaks
- Brondell faucets simplify installation with a faster setup system
- With minimal tools and prep, most homeowners can complete the project themselves
The day has finally come to replace your kitchen faucet. You love the idea of upgrading to a newer, more contemporary model, but the idea of installing it yourself seems intimidating.
Replacing a kitchen faucet may seem like a daunting task. But with the right tools and instructions, you can complete the project without any trouble. Here are the things you'll need to know to install a kitchen faucet.
How do I choose the right kitchen faucet?
Whether you’re looking to replace
your kitchen faucet for a more contemporary
design, better functionality, or
efficient water savings, the faucet
needs to work with your existing sink configuration. Here are a few of the most important things to
consider:
Mounting holes: Check if sink or countertop has one or multiple faucet holes. Faucets designed for one hole will work in any configuration, but a faucet made for multiple holes won’t work in a sink with just one.
Deck-mounted vs. wall-mounted faucets: Deck-mounted sinks attach to the countertop, while wall-mounted faucets attach to the wall over the sink itself. Make sure that the faucet you’re getting matches the configuration of your current sink.
Faucet size: Some faucets may not fit due to overhead cabinet space, clearance behind the sink, or various other reasons. Check the new faucet’s dimensions to see if they work with your space.
Once you find a faucet that fits your sink, it’s important to think about features that you’ll need. Consider if you need multiple handles or a single-handle setup, as well as modern features like a pull-down sprayhead and touchless activation.
What tools do I need to replace my faucet?
Before you start the installation process, it’s important to have certain
tools and supplies ready:
- Adjustable wrench: a versatile tool for loosening bolts.
- Bucket and towels: great for catching and soaking up residual water.
- Flashlight: an optional tool for working under the sink with low lighting conditions.
- Plumber’s tape: used to seal threaded pipe joints and prevent leaks.
How do I remove my old faucet?
Turn off the water supply
Disconnect the water lines under the sink.
The water lines of your faucet are flexible tubes that supply hot and cold water from your plumbing. Once you're sure the water supply is off, remove both the hot and cold water supply lines from the valves coming out of the wall. Water may spill during this step, so have a bucket or some towels handy.
Undo mounting hardware and remove faucet.
Every faucet is a little different, but they’re all locked into place under the sink using a retaining nut, ring, or some other kind of mounting hardware. Remove that hardware according to the specific instructions on your old faucet. It will also be helpful to disconnect the water supply lines from the faucet for easier access, if your model allows it.
Clean the sink before installation.
Wipe away any dirt, grime from the top and bottom of the faucet holes so they're clean and ready for the new faucet.
Turn off the hot and cold valves underneath the sink to stop the flow of water. Then, open the hot and cold handles on your faucet until all the water comes out.
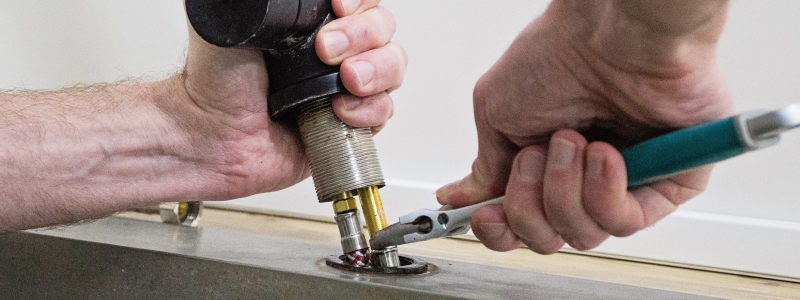
Now that your old faucet is out, it’s time to put the new one in!
How do I install my new faucet?
Installing your new faucet is a similar process to removing the old faucet, but in reverse order. Be sure to consult your manufacturer's user manual for any specifics regarding your particular faucet model.
We're giving directions for installing a single-hole configuration, since they’re the most common for new faucets.
Follow these general steps:
Insert the hot and cold supply lines into your counter’s center hole, then mount the faucet base.
If you’re installing a faucet with a deck plate, make sure that it’s assembled correctly and placed over the center hole. If not, you can do this directly on the counter’s center hole. Thread the lines through the center hole and place the faucet base on top of the counter, along with any included gaskets for the faucet. Depending on the size of the hole, you may want to thread each water line separately, rather than altogether.Secure the faucet under the sink.
Use the mounting hardware included with your new faucet to secure the faucet in place. We recommend not fully tightening it until you make final adjustments to the fit and alignment. All Brondell kitchen faucets feature an industry-leading Accelerate Installation System, making this step quick and easy.Secure the mounting hardware
Tighten the mounting nuts or bolts to secure the faucet in place, making sure not to overtighten and damage the fixture.Connect water supply lines.
Identify your new faucet’s hot and cold water lines. Some faucets will use blue indicators for the cold line and red for the hot line. Then secure the hot line to the hot water valve under your sink, and the cold-water line to the cold valve, making sure any included gaskets are installed correctly. If necessary, use plumber’s tape on the threads of the lines before securing them into the valves to help prevent leaks. Tighten the nuts on each line.Test water and flush lines.
Make any final adjustments and tighten down securely where it’s needed, especially near any water connections where leaks occur. Turn on the valves to bring water through the lines, then gently turn on the water using your faucet’s handle. Tighten down any areas of leakage if necessary, then slowly increase the water pressure to run water through the system and clear out any potential debris for about 1 minute.
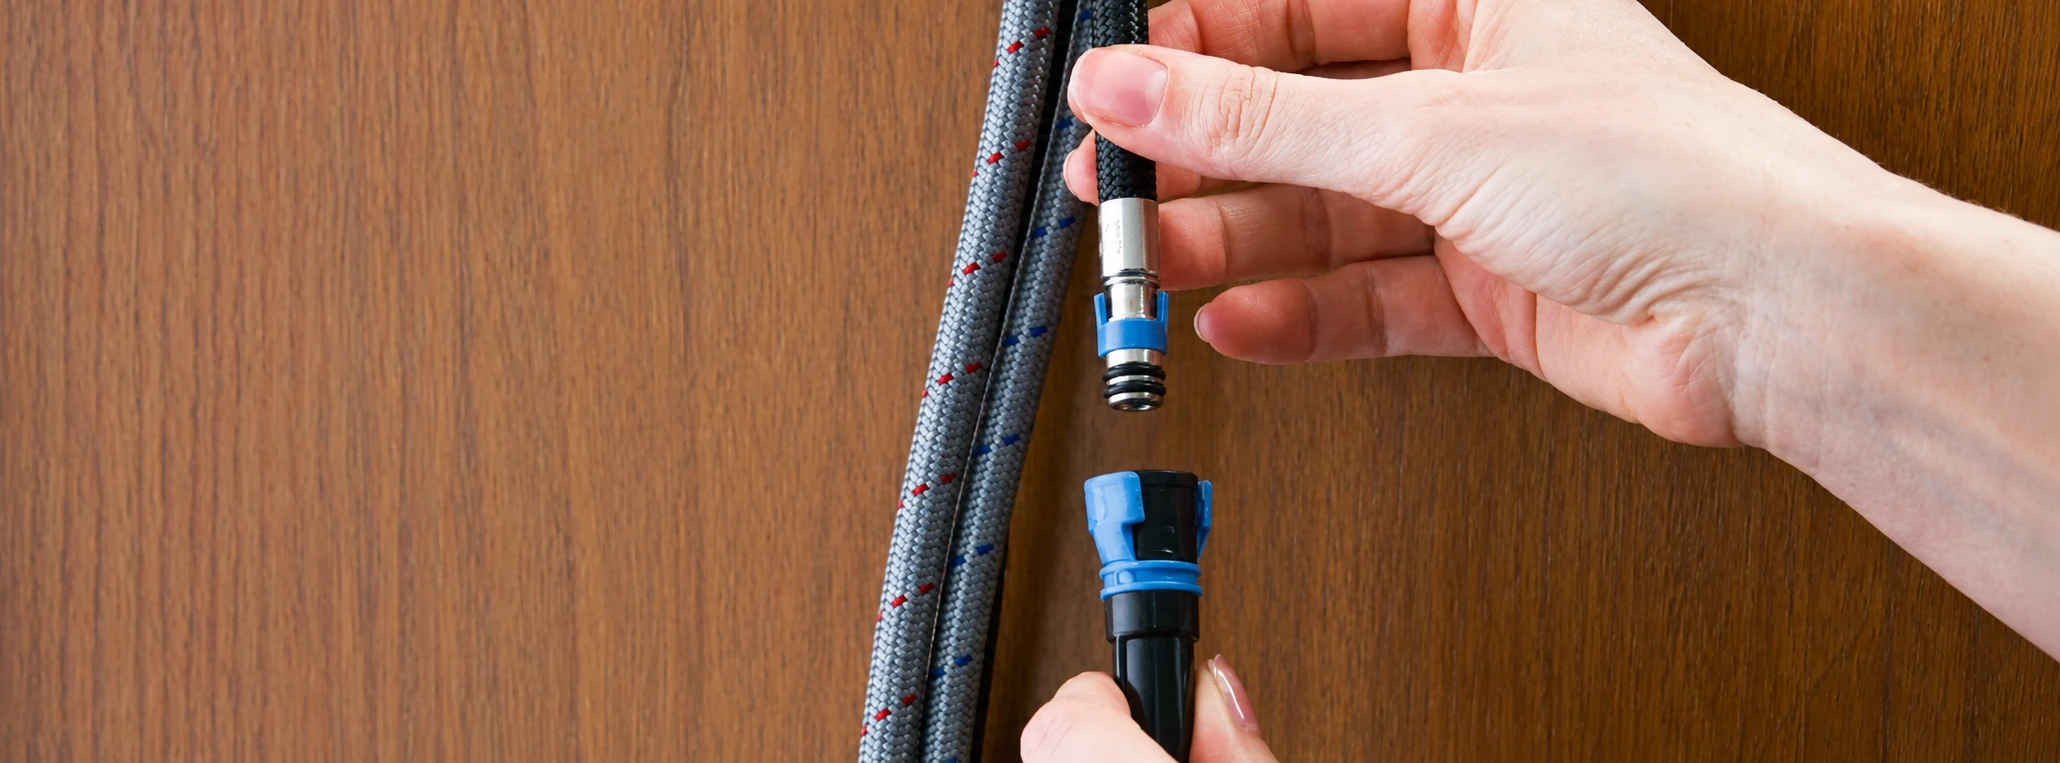
Depending on the model you choose, installation steps can vary because of additional features and parts, like touchless functionality or counterweights that work with your faucet design. Be sure to consult your faucet’s installation guide for specifics.
From improving your kitchen's performance to elevating your kitchen's appearance, a new faucet is an easy, DIY-friendly upgrade. A few simple tools and a bit of time is all you need to make the switch.