

Key takeaways:
- Mineral buildup in your faucet head can reduce water flow and impact everyday kitchen performance.
- Faucet heads can both be cleaned using simple household items like vinegar and baking soda.
- Cleaning your faucet head every few months helps maintain steady water flow and keeps buildup under control.
Keeping your kitchen faucet in good working order helps ensure you can tackle everyday tasks with ease. Over time, you may notice changes in water pressure, uneven flow, or white buildup around the faucet’s nozzles. These are all signs that it’s time to clean your kitchen faucet head.
Why do I need to clean my faucet head??
The tap water that comes out of your faucet is treated for safe use but can contain dissolved minerals like calcium and magnesium (AKA “hard water”). Over time, these minerals build up, causing reduced water flow and the possibility of increased contaminants in your tap water.
Are there different types of faucet heads?
Faucet heads can vary in style depending on your faucet design, but most kitchen faucets fall into two main categories: traditional faucet heads and pull-down (or pull-out) sprayers.
A traditional faucet head is a spout with a screw-on aerator, a component that blends air into the water stream to create smoother flow, reduce splashing, and help improve water efficiency.
More modern or premium models have a sprayer at the end of the spout instead. These often feature multiple nozzles and spray modes and pull-down functionality so you can easily direct the spray.
How do I clean a kitchen faucet head with a sprayer?
To clean a faucet with a pull-down sprayer, have the following household items on hand:
- White vinegar: Works to dissolve mineral deposits and kill bacteria.
- Baking soda: Can be combined with vinegar or water to create a paste.

You’ll also want the following items ready:
- Toothbrush
- Rubber bands
- Ziploc or plastic bag
- Rubber gloves
Follow these steps to clean your pull-down sprayer:
- Prepare your space: Remove any items near the sink and wear rubber gloves to protect your hands.
- Prepare a vinegar solution: Mix equal parts vinegar and water. Pour the vinegar solution into a resealable plastic bag.
- Soak the spray head: Bring the bag up to the spray head and submerge it in the vinegar solution. Use a rubber band to fasten the bag onto the spray head and let soak for at least 30 minutes.
- Remove the bag, scrub, and rinse: Once the bag is off, use a toothbrush to scrub away any remaining buildup. If the spray head is still visibly unclean, do steps 3 and 4 again. Once the buildup is removed, use a bowl of warm water to rinse the spray head.
How do I clean a traditional faucet head?
The process for cleaning a traditional faucet with an aerator requires removing the aerator from the spout.
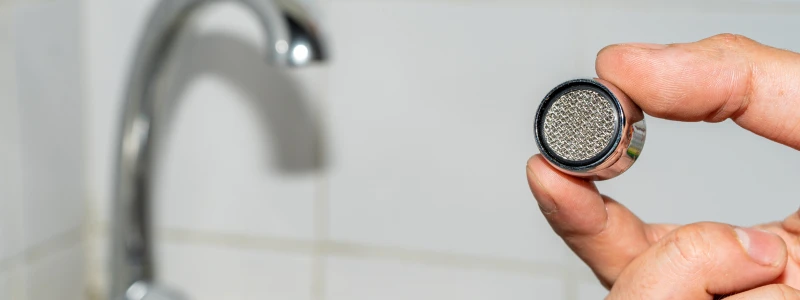
Start by having the following household items ready:
- White vinegar
- Baking soda
You may also need:
- Toothbrush
- Small bowl
- Wrench or pliers
- Towel
- Rubber gloves
- Remove the aerator assembly: The aerator assembly is fixed to the very tip of your faucet spout. Cover it with a towel, then use your hand to grip the aerator and loosen it by gently turning counterclockwise. In rare cases, you may need to loosen by turning clockwise as some older faucets have reverse threading. If loosening the assembly is difficult, you may need to use a wrench or pliers to remove. Use a towel to protect your faucet's finish and turn gently so as not to damage the threading.
- Prepare a vinegar solution: Wearing rubber gloves, mix equal parts vinegar and water in a small bowl.
- Soak the aerator: Submerge the aerator in the solution and let it soak for at least 30 minutes.
- Remove, scrub and rinse: Remove the aerator from the vinegar solution. Use the toothbrush to scrub off any stubborn buildup. If the aerator is still visibly unclean, do steps 3 and 4 again. Once the buildup is removed, rinse the aerator well with warm water.
Common mistakes to avoid while cleaning your faucet head.
- Vinegar is acidic and has potential to wear away at your faucet’s finish. If you’re unsure about how your faucet’s finish will react with vinegar, check your faucet’s manual.
- Do not grip the faucet head directly with pliers or a wrench. This may damage the finish of your faucet. Wrap your faucet head with a towel or cloth before using any tools for added protection.
- Rubber gloves can help prevent irritation from any chemicals from touching your skin.

How often should I clean my faucet head?
Cleaning your faucet head every few months helps keep water flowing smoothly and maintain optimal performance. If you notice reduced water pressure, uneven spray patterns, or visible mineral buildup, it’s time for another quick clean. With just a little routine maintenance, you can help extend the life of your faucet and keep your kitchen flowing efficiently.